
 I love the traditional tomato pincushions. They have always been around as long as I can remember. I have collected a couple and they are the pincushions I use the most, perfectly practical and cute. When I saw this fabric I thought what a cute tomato pincushion it would make! The little pattern I made up (you can link to it HERE!) is so versatile you can make all sorts of veggies and fruits. I'm thinking pumpkin and oranges next.
I used a fat eighth for the tomato and a scrap of green for the leaves. Print out the pattern and cut six wedges out of your red fabric. Sew this wedges together, like in the pictures below...

 When you have sewn on your last wedge, sew the side of the first wedge to the last, to form a sort of ball. Leave a small opening along one side to turn.
My favorite filler for pincushions is this walnut shell bird litter (the stuff you put on the bottom of bird cages). I bought this bag at a pet store for around 10$ and have made MANY pincushions out of it. The crushed walnut shells help keep your needles sharp and feels nice and heavy in your pincushions.
 After I stuffed my little tomato, I sewed my opening closed. I stuffed it just enough so I could still flatten it to make a tomato shape. If you stuff it more you could create a rounder ball shape (which would be great for an orange!).
 Use a long needle with a couple strands of embroidery thread and sew right through the middle of the tomato and pull, so you end up with something like this...
 Tie it off with a strong knot.
Now to make your tomato leaves. As you can see below I cut 2 squares of green and traced the leaf pattern onto the wrong side of one of my fabrics. I then sewed along my traced line and cut out my leaves 1/8 inch from my stitches. I cut a little slit (not pictured) on the inside corners, to make it turn well.
 In order to turn my leaves right side out, I cut a hole on one side of my leaves. I didn't bother to sew it up afterward because it will be the side facing the tomato.
 After I turned and pressed the leaves I bunched up the center and just hot glued it to the top of my tomato. You could sew it on, that would be perfectly fine, but this was a quick project for me and I find hot glue actually works really well on cotton fabric.
 Here it is again, sitting all cute in my sewing room. The flower pins are just a couple of clay buttons glues to some flat head pins.
 Enjoy your harvest!
 In order to turn my leaves right side out, I cut a hole on one side of my leaves. I didn't bother to sew it up afterward because it will be the side facing the tomato.
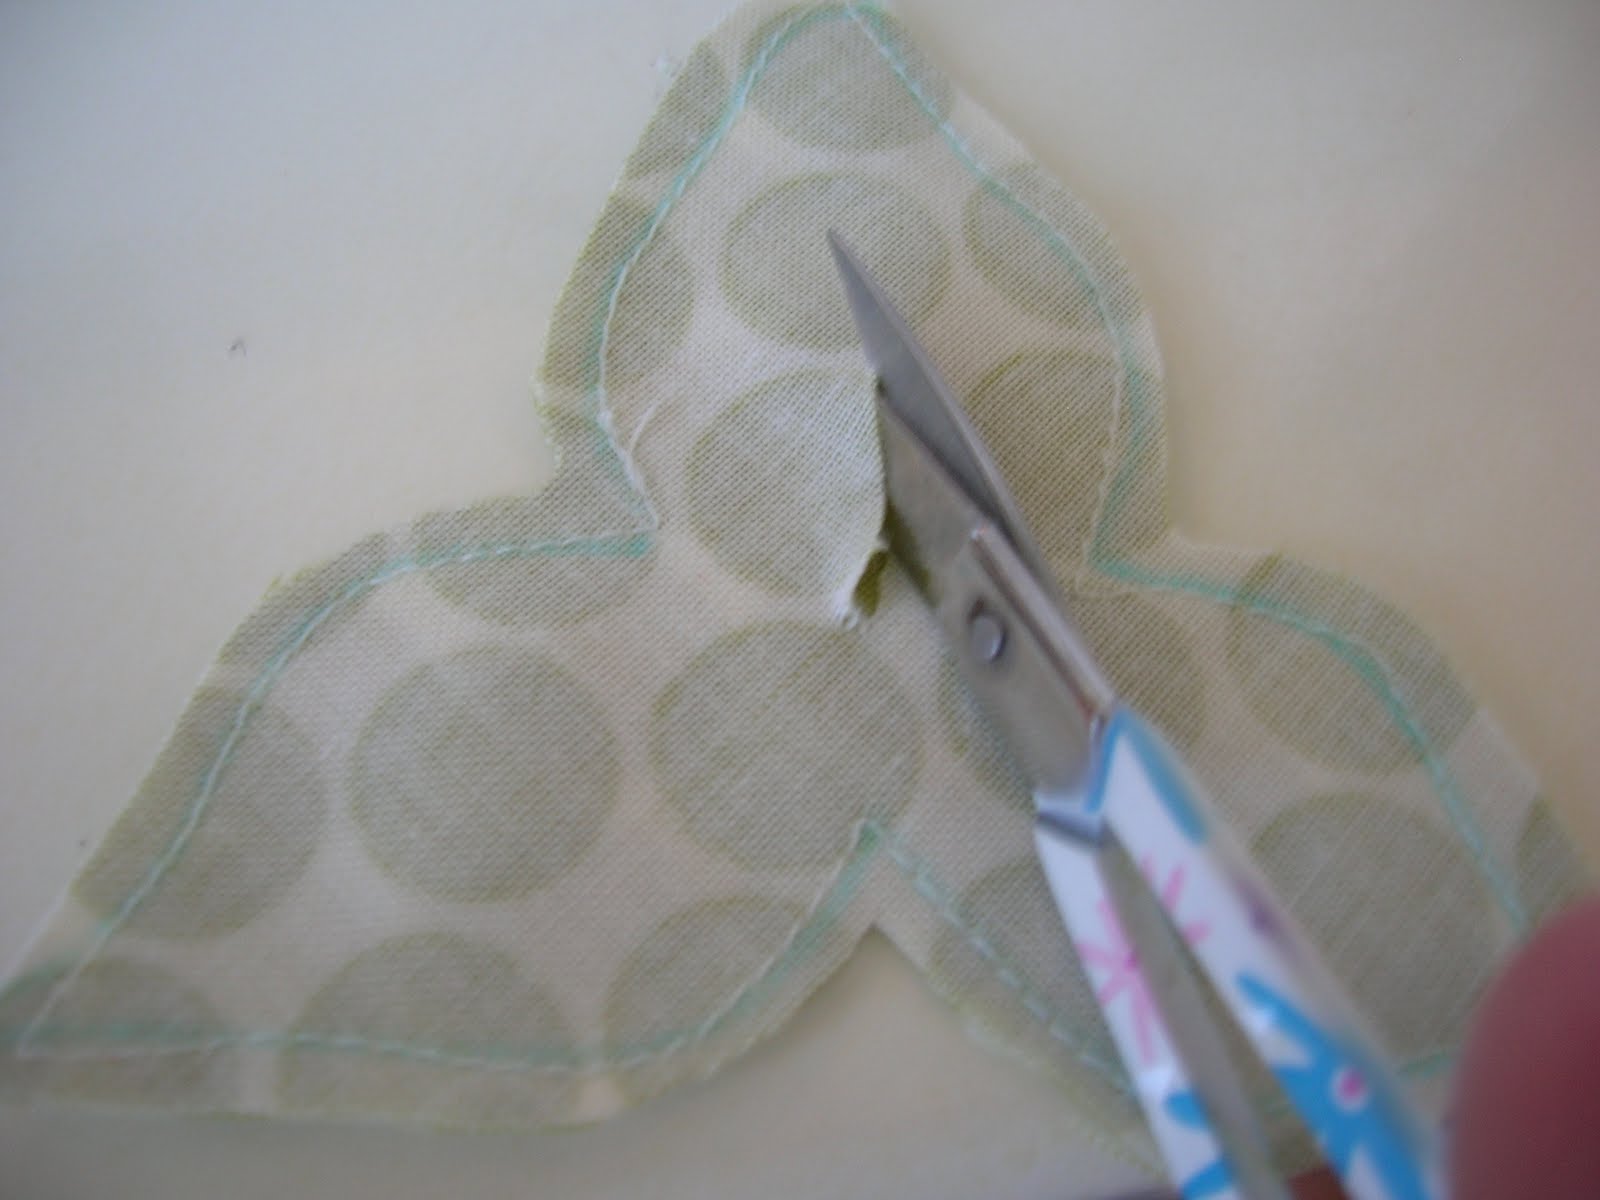 After I turned and pressed the leaves I bunched up the center and just hot glued it to the top of my tomato. You could sew it on, that would be perfectly fine, but this was a quick project for me and I find hot glue actually works really well on cotton fabric.
 Here it is again, sitting all cute in my sewing room. The flower pins are just a couple of clay buttons glues to some flat head pins.
 Enjoy your harvest!
So, this is crazy...15 seconds ago I was just thinking I should make a pin cushion. (I want to make a cupcake one) anyway...then I accidentally clicked on something and ended up here. How weird, really...but, how cute and ironic! Great, so now that you think I'm completely loony I will stop posting nonsense on your blog. lol Thanks for the tutorial! I think I'll go make myself a pin cushion. :)
ReplyDeleteNot at all, I'm so glad you found me! Love the idea of a cupcake pin cushion!
ReplyDelete