For my daughters baptism we gave her a gift of her very own set of scriptures. The scriptures on their own are nice but not super exciting, but she loved the little bag I made to carry them in. She looks forward to bringing her scriptures with her to Church with her every Sunday.

The bag is super simple to make. The hardest part was getting the measurements just right to fit the scriptures, but I did that part for you! Of course you can use this cute and simple tote bag to carry anything, not just scriptures, but I designed it to fit a standard set of LDS scriptures perfectly. I decided I wanted to quilt my bag to make it extra cute but mostly to add strength, because the scriptures are heavy.

For supplies you'll need to gather 2 fat quarters, a strip of accent fabric (I just used a scrap I had on hand. A 1/8th of a yard would be plenty) and another strip for your handles (a 1/8 of a yard by width of fabric will be more than enough). I also added a felt letter "P" to personalize it and a little crochet flower by Riley Blake Designs.

I put this bag together the same way I put THIS bag together, which is pretty much the same way I always make a bag. It's just so simple to me this way.
Cut your pieces (2 if each!)...
Bottom outside (tree fabric)- 6 inch X 12 inch
Bottom lining (pink dot)- 6 inch X 12 inch
Accent strip (blue)- 1.5 inch X 12 inch (4 pieces total)
Top outside (pick dot)- 3 inch X 12 inch
Top lining (tree)- 3 inch X 12 inch
In the picture below, one set will be the outside of the bag and one will be the inside/lining of your bag. You can't see it in the picture but my fabric is actually doubled, so there is a second piece underneath each of these pieces.

At this point set those pieces aside and make your handles, because you're going to sew those into the sides of the bag. To make the handles cut a piece of fabric 4 inches and iron your piece as shown below, bringing your sides into the middle and then folding the whole thing in half again.

Top stitch along each side of your handle...

And then you can just cut it right in the middle to create two handles. Doing it this way made my handles a bit long so I ended up taking about 2 inches off of each handle.

Once you have two handles you'll insert them between your top and middle pieces like you see below....

Pin your handles in place...

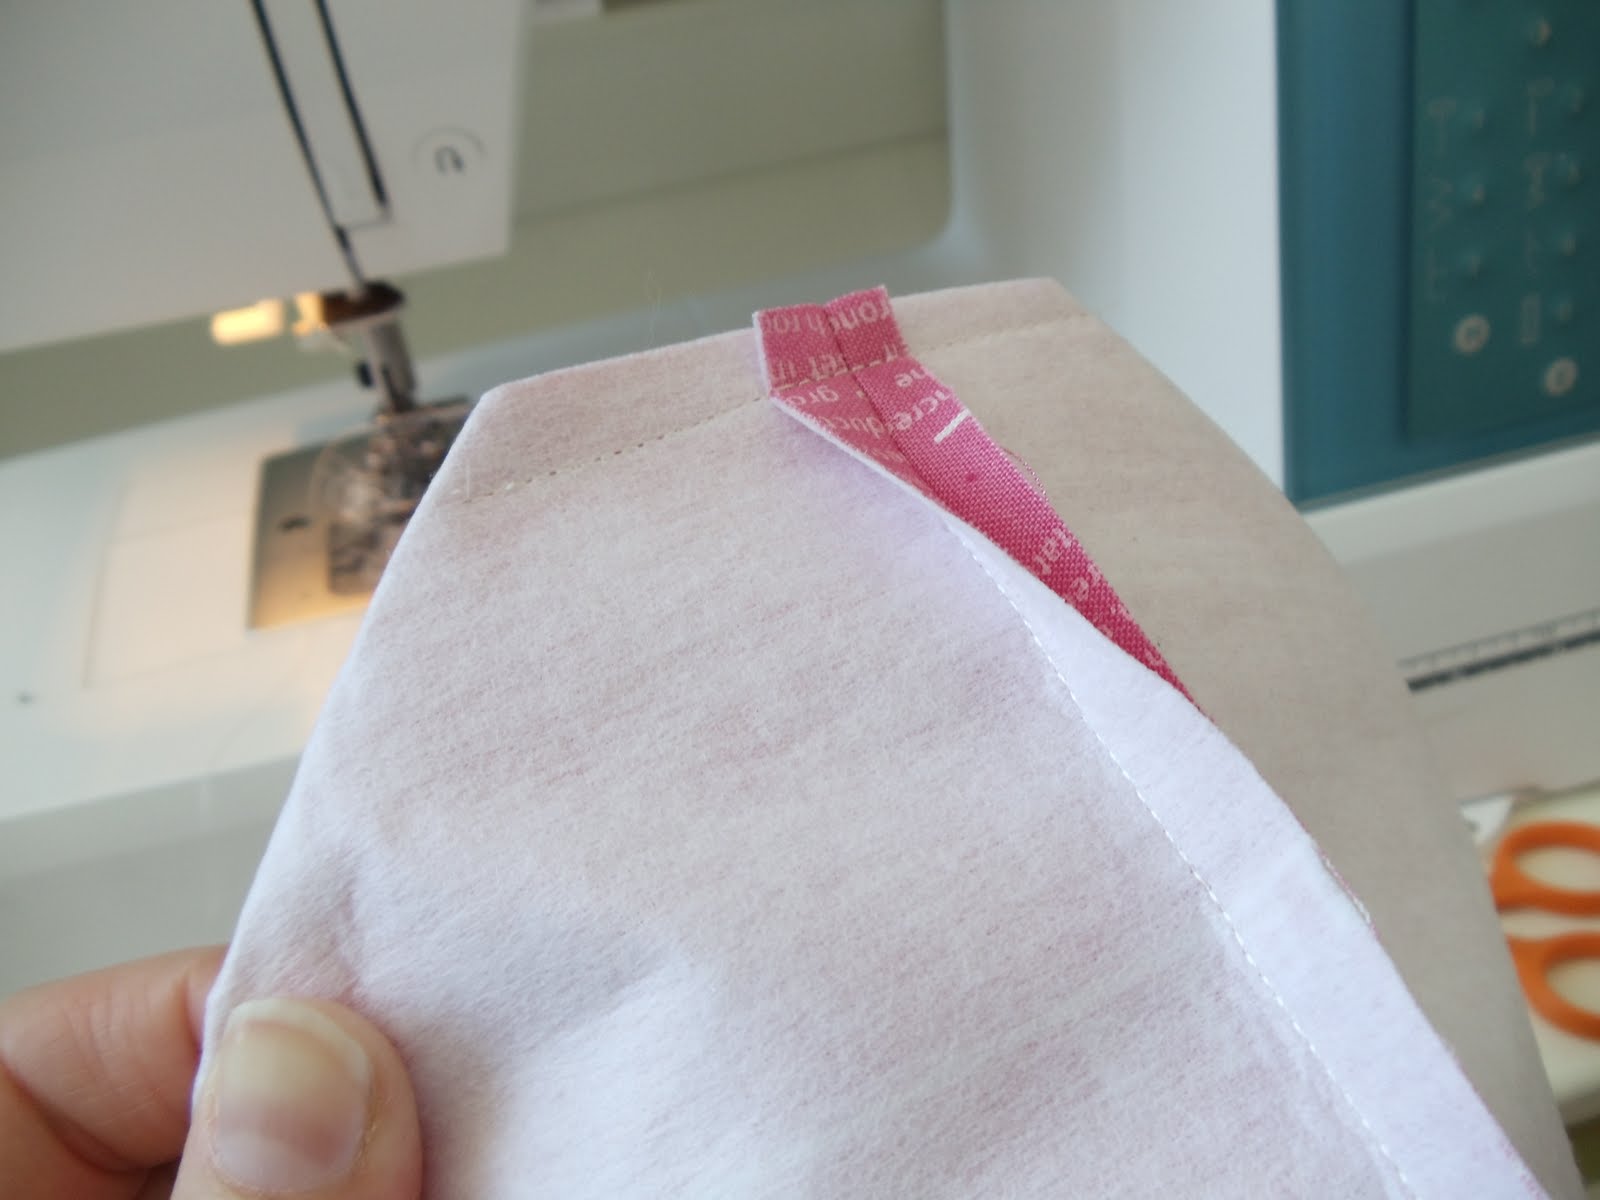
and sew along that edge, catching your handles in your seam...

Do this to both side of your bag. At this point you can quilt your bag if you wish. You don't have to but I think it makes it look extra sweet and different than other little scripture bags out there. For tips on how to quilt it yourself refer to THIS POST on my blog. As you can see I drew some lines with an erasable pen (Frixion Pen by Pilot, my favorite! Erases with the heat of your iron.) to follow while I quilted. I also stitched on the little felt "P" at this point.

After you've quilted your bag, sew your 2 pieces right sides together along the sides and the bottom. Turn your bag right side out and place your scriptures inside. Notice the extra little triangle pieces there on the bottom sides of the bag? Mark those because we are going to first sew and then cut those off to create a "square" bottom of your bag.

I feel like I should have another picture here to show you but as you can see I turned my bag wrong side out, slipped my scriptures inside, marked where they ended on each side, and sewed straight across. This will create a square bottom to your bag.


And repeat the process again to make a lining, leaving off the handles. DON'T FORGET to leave a small hole (about 3 inches) in the bottom of your lining while you are sewing it together to be able to turn your bag right side out. You'll also square off the bottom of your lining pieces so they fit nicely inside your bag. Once you have the outside and the lining of your bag sewn together, slip the outside of the bag inside the lining as shown below...

Line up your seams on the sides and bottom and pin all around the top.

Sew your outside and lining pieces together around the top of your bag.

Turn your bag right side out through the whole you left in the lining. If you forgot to make this hole, like I always do, your can use your trusty seam ripper to pick out some stitches and make one. Once your bag is turned right side out, sew up your hole and press all your seams. Top stitch along the top edge of the bag to hold your lining in place.


Trim off those triangles from each side...

And repeat the process again to make a lining, leaving off the handles. DON'T FORGET to leave a small hole (about 3 inches) in the bottom of your lining while you are sewing it together to be able to turn your bag right side out. You'll also square off the bottom of your lining pieces so they fit nicely inside your bag. Once you have the outside and the lining of your bag sewn together, slip the outside of the bag inside the lining as shown below...

Line up your seams on the sides and bottom and pin all around the top.

Sew your outside and lining pieces together around the top of your bag.

Turn your bag right side out through the whole you left in the lining. If you forgot to make this hole, like I always do, your can use your trusty seam ripper to pick out some stitches and make one. Once your bag is turned right side out, sew up your hole and press all your seams. Top stitch along the top edge of the bag to hold your lining in place.

And your done!