Showing posts with label embroidery. Show all posts

Wednesday, April 18, 2012

Hand Embroidery Tips


The first thing I embroidered was about 11 years ago when I was pregnant with my first baby. I bought a couple oneies and a few different colors of floss and stitched some little motifs to decorate the oneies with. I didn't have anyone to show me how, I had just seen finished products and figured it out from that. I didn't use a stabilizer or even a hoop to help me. They turned out cute though and we were such poor college students that really it was all I could afford to do for my little ones wardrobe.
Since then I've stitched so many embroidery projects I really have no idea where they all are or how many I've even done. It's a lot.
I've learned a couple things in the past 11 years about embroidery, but it's such a simple craft that you can grab a few onesies, floss and a needle to make something very sweet and memorable. There are a few things I would suggest you use though...


1. Erasable pens. My first projects were drawn with pencil. Soon after I started using water soluble markers that disappear when you get them wet. They are fine and work well, but I LOVE the Frixion Pens! They erase with heat, like the heat of your iron, not water, so you don't have to get your project wet.


2. Hoops. My favorite hoop to use is the Susan Bates Hoop-la Hoops. They are durable and have a little lip that helps to keep you fabric nice and tight while you are working.


3. Floss Storage. I use mostly DMC floss. But I have used Weeks Dye Works, Gentle Art, Valdani, and Cosmo floss. I still like DMC best. I can't help but love the price, as well as the huge color selection. As you collect floss you have to keep it organized or it will get EVERYWHERE. It unravels and tangles and makes a huge mess. My favorite way to organize my floss is in a handy little clear tackle box I bought in the sporting goods section. I take a stack of my husbands business cards, cut them in half, right the name (number) of the floss on the card and wrap it around that. You can buy special cards for wrapping you floss around. They are cheap and keep your floss very neat. But I prefer free and old business cards work for me.


4. My last tip for you is to stitch through 2 layers of fabric instead of one. Or a lot of people like to stitch through a layer of fabric with quilt batting behind it. The batting gives it a cute puckered quilted look. If I'm not going for that look I'll just double up my piece of fabric and stitch through that. By doing this it not only hides all your nasty knots and tangles on the back (which are pretty inevitable) so you are unable to see those through your fabric (with just one layer you can often see a dark thread show through to the front) but it looks much nicer, cleaner and more professional. I highly recommend it.


Just a couple other reminders would be...
-Apply a stabilizer to the back of knit fabrics before you embroider.
-Smaller lengths of floss will make for less knots in your floss. Even though you'll have to re thread your needle more often it's less of a pain than picking out a knot every other stitch.
-Get a tiny, sharp pair of scissor to keep in you storage box. You'll have everything you need right there with you always.
-I wish I would have put a lock on my floss box the day my babies decided to get into my newly purchased, newly organized for that special project floss and string it through the house. Just a thought if your kids are still little :)

Monday, April 16, 2012

How to "frame" your embroidery in a hoop

Here is the method that I used to give my embroidery I nice finished look in the hoop. After you are finished stitching your piece you'll want to trim off the excess fabric, leaving about an inch or two all the way around. Next gather your fabric on the back side of your hoop using a running stitch, like you see below...

Make sure you pull it nice and secure and tie off your thread. To cover the back I just pulled out some cute pieces of scrapbook paper I had on hand and hot glued it to the back of my hoop.

Thursday, April 12, 2012

TaDa!


I opened up a little pattern shop! I've had this idea rolling around in my head for ages. I'm so excited I finally did it! I think what finally sparked me to actually get my ideas down in pattern form was this fun trend of "Hoop Art". I love it! A fresh new way to frame your embroidery. Super cute and super simple (and super affordable!). I'll be posting some tips on where to find hoops, how to "frame" your embroidery in a hoop, and some tricks I've learned along the way for successful embroidery.


I've just completed 3 patterns so far, but my head is buzzing with ideas now that I've got these done. First up is called "Life Is..." Life is like riding a bicycle, in order to keep your balance you must keep moving. I can't decide what I love more, the bicycle or the mini "hexies" (which are not actually "sewn", by the way! I wanted to make sure everyone of every skill level could do this fun and easy project, so my mini hexies are just fusible applique with a sweet little running stitch all around).


The next one is probably my favorite because of that fun granny square block (also fusible applique! Talk about quick and easy.) I remember seeing "fire" balloons when I was a tiny little girl out our car window on a long drive one day in my childhood home of sunny southern California. My mom still has the little scraps of paper with my first drawings of hot air balloons on them. I think I'll make one of these as a gift for her (shhh, don't tell)!


And lastly, this little sewing machine. I've doodled this sewing machine so many times! I actually have a pin cushion with this same sewing machine embroidered onto it I made years ago. Gotta love that cute trendy bunting, and I fell in love with this saying when I first found it "Creativity is allowing oneself to make mistakes, Art is knowing which ones to keep"


So why "Jumping Through Hoops". Well, despite the obvious play on the word "Hoops", embroidery hoops, hoop art... quite often here at home I feel like it is a real "trick" to pull it all together, like I'm jumping through hoops to make it all happen. I'm so busy being a mommy and wife (and all that goes along with that) that it is difficult to find the time to be creative. And I NEED my creative outlet! I know we all feel like that sometimes, jumping through hoops to try and get it all done, whether we are a full time mom, juggling a career and family, married, single, Aunt, Sister, Grandma, or all of the above :) we are amazing! We are doing an awesome job! And we deserve to take a little time to stitch.


Click HERE to check out my new shop where you can buy these patterns in either PDF printable form or have the shipped to your door!

Wednesday, April 11, 2012

Just a peek...


I've been working on something new! Something new and adventurous and a little bit scary. I hope to show you more very soon :)

Wednesday, February 9, 2011

Kimono dress


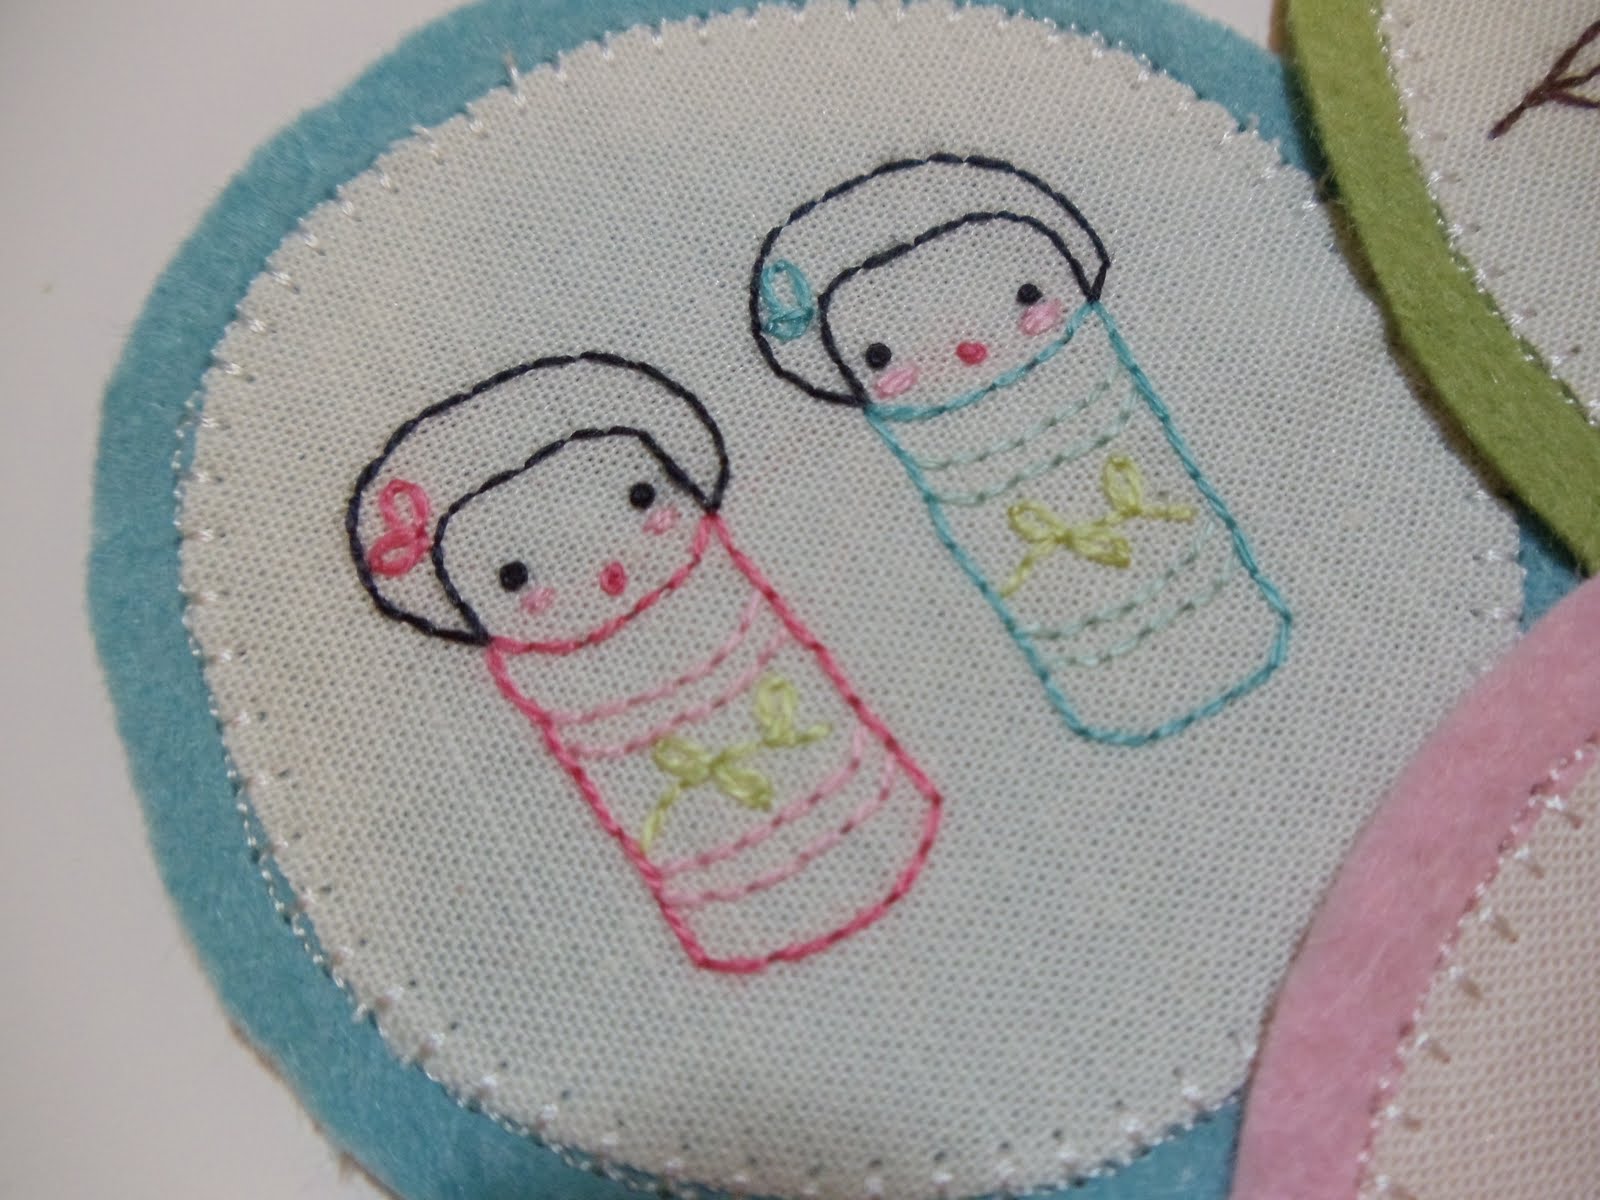
I bought THIS BOOK a few weeks ago and have been having fun stitching up these adorable little motifs during football season. I have no clue what I will do with these little cuties, but they make me smile.


And the other sunday, while getting ready for church, I pulled out this little kimono dress I made C a few months ago (it had to be on display at the shop for awhile) and thought she looked so sweet in it. She wore it to church that day, but took it off as soon as we got home "because it's itchy!"


I'd like to remake it some day in some nice linen fabric and maybe a few of the little designs from the book stitched along the bottom.

You can find the pattern I used for the dress HERE
and below is a link to one of my favorite blogs and the author of the book (yes I have linked to her before). She has lots of free embroidery patterns on her site!