Showing posts with label clothes. Show all posts

Sunday, June 3, 2012

The Most Comfortable Skirt

What I really wanted was THIS. But I couldn't find any striped knit fabric at my local stores. So I got the great idea to make my own. I started by thinking I could pull this off...


And quickly discovered that was NOT going to happen. So I gathered up my leftovers and threw together an extremely simple striped Maxi Skirt. I'm just happy to have it finished and it was very comfy at church today. I usually get home and right away change into pants. I kept this skirt on for a whole 3 hours after church!

Here's a link to an awesome Maxi Skirt tutorial as well as the Knit Flower.

Monday, March 5, 2012

Little Gathered Shorts Tutorial

It's a beautiful spring day today in Utah. Unlike a few days ago when I was sewing these little shorts together and it looked like this outside my sewing room window...
So please forgive my terribly dark pictures in my tutorial. Basically I used the same method as I used with my Pajama pants tutoral. For the Peter Pan collar on the little t-shirt I used THIS tutorial. My origional project was to just add the collar to the t-shirt and be done. But once I got started I wanted to complete the outfit with a pair of spring/summer shorts.
Instead of using a pair of pajama pants for my template I used a pair of shorts that fit my daughter well and cut a couple pockets from the left over collar fabric.
Sew your shorts together using the same method as THESE super simple pajama pants.
To make the pocket I just cut two pieces in the shape I wanted my pockets to be and sewed the two together, right side together.
I left a little hole to turn my pocket right side out. I then ironed it flat and pinned it to my pair of shorts.
As you can see I added a cute little pleat to the pocket. I then sewed it to my shorts, leaving the top open. Be sure and leave your turning hole on the bottom of the pocket so when you are sewing the pockets to your pants your stitches close up that hole.
After I added the pockets I thought they still needed a bit more detail, so I gathered up the side of each leg and simply stitched back and forth a couple times to secure those gathers.
Taking a bit of the left over bias tape from my peter pan collar, I tied a couple bows and hand stitched those on top of the gathers.
Today we got a break from the winter weather and I think it got pretty close to 60 degrees outside. Still a bit to cold out for my daughter to wear her new outfit outside but she enjoy running around the house in it. Tomorrow it's supposed to storm once again. Spring weather is such a tease.

Monday, August 8, 2011

The Family Reunion Dress


Can I put pictures of a wrinkly dress on my blog? I know a few bloggers who would think not, but frankly I want nothing more than true to life on this blog. P LOVES this dress and wore it all day. I suppose I could get it off her tonight, iron it up and take some more "professional looking" pictures of it, but with the joys of summertime and the kids home from school...I just don't have the time or energy.

And I think she looks beautiful in it.


The style of the dress and the weight of the fabric is prefect for summer. It's like muslin with adorable little poodles and dots that looked "stamped" on to the fabric.


I dug through my button jar and chose mismatched buttons for the back. I thought it looked cute that way and saved me a few dollars (and a trip to the store with all 3 kids... priceless!)


The pattern is The Family Reunion Dress by Oliver + S. I was so thankful to have found this Family Reunion Dress sew along! There was a couple spots in the pattern that had me stumped, but the pictures and extra discriptions helped me out a bunch.

Sunday, July 10, 2011

Knot Shorts *free pattern link*

I whipped up these adorable little shorts for P yesterday. There's a tutorial that was part of Grosgrain's Free Pattern Month that you can find HERE. They ended up a little baggy, but there's room for her to grow. I used some home decor weight fabric that I found on sale for 5$!


I also had to share this picture I snapped of my youngest at church today. I have to admit, I was jealous of her little nap. I wish I could get away with that ;)

Wednesday, April 13, 2011

Butterfly Baby


Don't ever throw your scraps away! Recognize this fabric? I didn't think I had enough left over to do anything with...


Love love love the little butterfly wings! Perfect for Spring.


I used a pattern for the butterfly wings that I got out of this adorable book...


This project sure taught me a lesson about hanging on to all my scraps of fabric.

Monday, April 11, 2011

Daydream Dress


Strictly for the fun of it, with no wild dreams about actually winning, I entered a fun contest over at Riley Blake Designs called Cruising With Riley Blake. The idea is to enter a clothing item made from Riley Blake fabric. I had my eye on this fabric, called Daydream Cottons, and the pattern was just in my stash. It actually came together very quickly on a Saturday night and I'm pretty pleased with how it turned out.


The back is what sold me on the pattern (which is called Macy Giggles Sundress by Izzy and Ivy) I used a couple Riley Blake flower buttons as well, just to rub it in a little how much I love their products ;)


Sorry, no smiles from little P today...

The first place prize is a very cool beach cruiser bicycle that I would very much love to call my own. Second and third place will recieve Riley Blake fabric bundles (also very cool!)


You can click HERE to check out my dress in further detail.


Let me know if any of you have your own entries as well, I'd love to see them!!!

Friday, March 25, 2011

Dreaming Of Summer


It snowed here this morning. I haven't liked the snow since I was about 15 (the year I moved from sunny southern California to snowy northern Utah). I was dreaming of hot July days at the pool, firworks at the park, and barbques in the backyard as I whipped up these little bucket hats for the girls. Utah can get quite hot in the summer (almost too hot! Makes me miss that ocean breeze) so hopefully these hats will protect my fair skinned children, if the sun ever shows it's face here again!


I used the pattern in my new Little Things To Sew book by Oliver + S to make my hats, but I did a quick search and found a free tutorial for bucket hats HERE

Saturday, March 5, 2011

The Jump Rope Dress


This classic little dress is my version of The Jump Rope Dress, a pattern by one of my favorites, Oliver + S.


So sweet, so classic, and just a touch vintage. I love the style of their patterns as well as their easy to follow instructions.


I also just purchase their new book, Little Things To Sew. Check out this darling trailer for their book...


I want to make EVERYTHING in this book! There is more in the book that they don't show, like a puppet theater and a "play town", all made out of the prettiest fabric. Oh, and of course, a set of their adorable little paper dolls, complete with clothes from the book... "a little something extra to keep young ones occupied as you stitch up new items for their wardrobes!" - Little Things To Sew, Oliver + S

Wednesday, February 9, 2011

Kimono dress


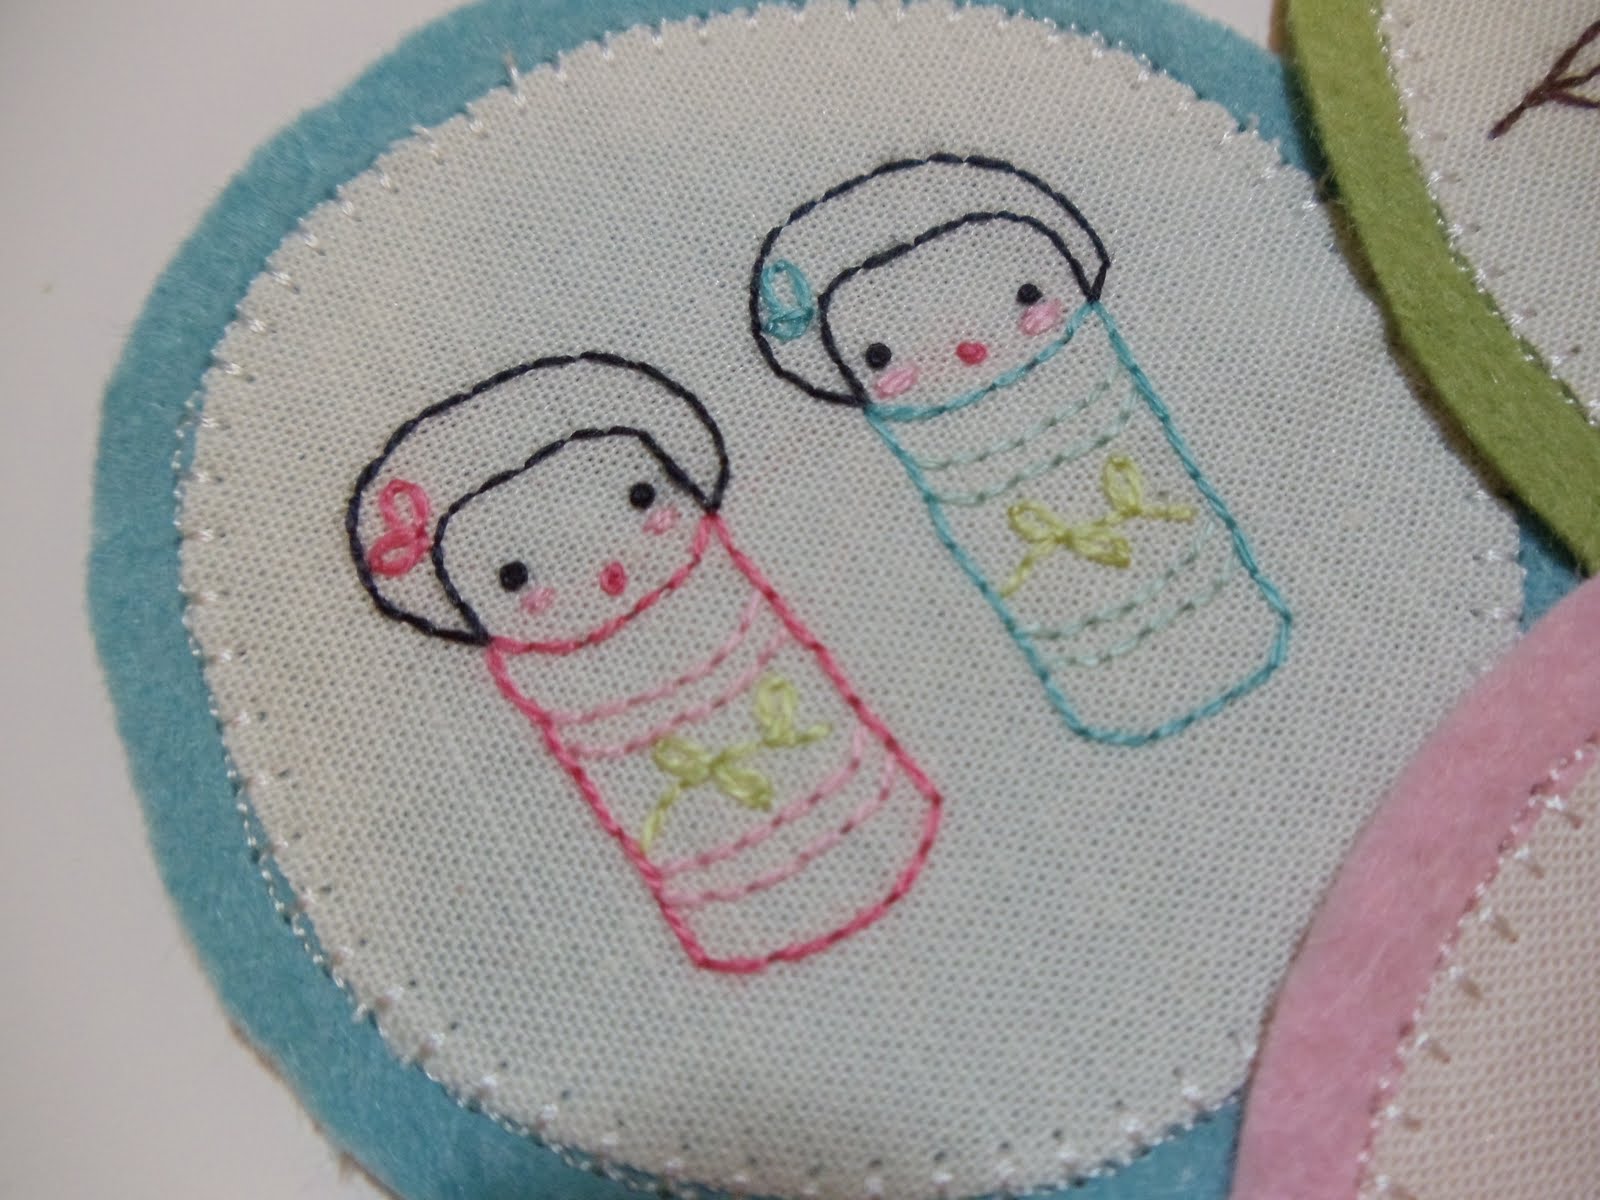
I bought THIS BOOK a few weeks ago and have been having fun stitching up these adorable little motifs during football season. I have no clue what I will do with these little cuties, but they make me smile.


And the other sunday, while getting ready for church, I pulled out this little kimono dress I made C a few months ago (it had to be on display at the shop for awhile) and thought she looked so sweet in it. She wore it to church that day, but took it off as soon as we got home "because it's itchy!"


I'd like to remake it some day in some nice linen fabric and maybe a few of the little designs from the book stitched along the bottom.

You can find the pattern I used for the dress HERE
and below is a link to one of my favorite blogs and the author of the book (yes I have linked to her before). She has lots of free embroidery patterns on her site!

Sunday, January 2, 2011

Sweet Slippers Tutorial and Pattern


I needed a little pampering after the holidays. My kids go to a year round school, which means I had them home for 4 weeks in November, sent them back to school for 2 weeks, then got to have them back home for winter break. Needless to say, I am ready for them to go back to school for awhile. In celebration of them going back tomorrow, I made myself a little "good job mom" present. My suggestion, before you begin the after holiday clean up, take a couple hours while the kids are back to school and make yourself a pair of these super sweet slippers, you deserve it!


I started off with a half yard of cotton fabric (Riley Blakes Sweet Divinity line), a half yard of pink dot minkie, and a half yard blue felt (not pictured). I had PLENTY of fabric, I could probably make 2 or 3 more pairs of slippers, depending on the size. You'll also need my super quick drawing of a pattern. You can print it off for free HERE!


You'll need to adjust the pattern to fit your foot (I really hope you're making these for yourself, because we all need a bit of pampering!). This pattern fits me perfectly, but I am aware that I have a rather small foot. I am a shoe size 6 and my foot's pretty narrow. If you need to make it larger, DON'T just enlarge the pattern on the printer, it will turn out too wide. You'll just need to add lenth (and perhaps a very little width, depending). Start by placing your foot on the pattern of the sole. You'll want it to be about a half inch larger than your foot. The best way to do this would probably be to actually cut the pattern directly in half and add inches to the middle, so it does not distort the shape of the sole. You'll also need to do the same to the side of the slipper. REMEMBER, these slippers are made to fit snug, like a sock. Otherwise they will slip right off! Don't make them too large.


On your pattern you'll see a side labled "fold". Place that side on the fold of your fabric (as you see below) and cut out twice from the cotton and twice from the minkie. With your sole, cut twice from the felt and twice from your minkie. You can use fabric instead of the felt if you want, I just had a hard time thinking about walking around my dirty floors which such pretty fabric on the bottom of my slippers.


Here is a picture of what you should have cut out for the outside of the slippers. You'll need all these same pieces cut out of the minkie as well. Make sure that you cut a right and a left foot! *see below*


Pair up an outside piece and an inside (minkie) piece and pin them together, right side together. When you are working with minkie you'll want to pin REALLY well. The stuff is so stretchy and so slippery. If it wasn't for how wonderfully soft it is, I would never, ever sew with it. Sew a scant seam along the inside curved edge.


You'll then fold the lining and material apart, and place the edges on the bottom (where the heel will be) right side together, with the lining against the lining and the material against the material...


I hope you can see that OK in the picure above. Make sure that minkie is touching minkie and cotton is touching cotton. Sew along that egde. This will make the heel. *see below*


You'll now turn it right sides out so it resembles the top of your slipper. Pin it in place, all the way around, like I've done in the picture.


You'll now want to sew the lining and the outside together. Sew a scant seam all the way around the slipper top. See my picture below...


Now to attach the sole. Turn the slipper top so you see the minkie side and pin that to the felt sole piece. You'll notice here that you need to pay attention if you are making the right foot or the left foot. Make sure that you turn one of the soles around so that you don't end up with 2 left feet.


Now sew where you have pinned, all the way around the sole. Once that is done, place a LINING SOLE on top of the WHOLE THING. Make sure that your get the extra fabric out of the way of the seams (as you can see in the picture, I pinned mine out of the way). Pin it in place (always pin!) and sew almost all the way around. Leave a small whole on the side, where you can easily reach in and hand stitch it closed, to turn it right side out.


Turn your slipper right side out, hand stitch your turning whole closed and slip it on for size.


Adding a cute little felt flower and a button (you can find my list of felt flower tutorials HERE!) gives it just the right touch.


My favorite place to nap? Up in the top bunk of my daughters' bunk bed, right after I make the bed, wondering what my 6 year old is doing right now at school. Ahhh, a few minutes peace...


... Until my 3 year old pokes her little head over the rails and tells me she's playing "princess barbies take a bath". Oh please let it not be in the toliet!