Learn how to make this one quick tote bag, and you can pretty much make them all. There are so many cute bag patterns out there, but most of them come from this same basic pattern. You can change up the shape a bit, make it smaller or larger, add a button or more pockets, and you'll never need to buy a bag pattern again. I have made this bag so many times that I hardly need to measure, and I definitely don't need a pattern.
I picked this fabric because, well, you know I love this fabric, but the words also reminded me of my love of reading and how much I enjoy taking my little girl to the library. So I decided I "needed" a new library bag.
Supplies:
1/2 yard for main bag fabric (words)
1/2 yard for accent strip and lining fabric
1/8 yard for handles
Fat Quarter for pockets
1 yard rick rack
1 yard Pellon 809 (you may be able to get away with only a half yard if the Pellon is 44" wide. Mine was not, so I bought a whole yard.)
First thing you need to do is decide how big you want your bag. I wanted mine to be a library tote bag, so I made sure it was roomy enough to fit a lot of books. I cut 2 pieces of my main bag fabric (one front and one back) 15" X 16" and I cut 2 lining pieces the same measurements. This gave me a finished bag of about 14" X 14".
Once you have those two pieces cut, lay them out and cut your accent stip (like you see I've cut below). I cut mine 4 1/2". Tecnically you could make this bag totally reversible. I hardly ever reverse mine because I usually choose my favorite fabric for the outside anyway, and don't have much of a desire to reverse it.

Now switch your accent stips so you are pairing the the lining fabric with the outside fabric. You can see what I have done below...

You will now sew those accent strips to the main pieces of you bag. In the picture above you only see one piece for the outside and one for the lining, but of course, you will actualy have 2 lining pieces and 2 outside pieces. Sew accent strips to all 4 pieces.

I used Pellon 809 Decor Bond to give my bag some stiffness and shape. You will definitely want to use some sort of stiffener on your bag. There are lots of different weights, depending on how stiff you want you bag. I bought mine at Pine Needles, but Joanns carries it as well, or any other fabric store chain.
You simply iron it on to the wrong side of your outside pieces. Cut it excact so you don't get sticky stuff on your iron. You can follow the directions that comes with the Pellon if you need more help.

No matter what I tried this picture just would not turn the right way for me (ugh, I hate that!) But anyway, you can see my next step is to top stitch the rick rack into place on the 2 outside piece and to add your pockets. Add as many pockets as you want, inside, outside, all over. Measure your phone, your keys, everything has a pocket, and make your bag is perfect for you.
*pocket tutorial link here*
Ok, now to sew your bag together. Place your 2 outside pieces right sides together and sew down one side, along the bottom and up the other side. Leave your top OPEN. Now do the same with your lining pieces BUT leave a small opening (about 3-4 inches) in the bottom of your lining, to turn your bag right side out when you are all finished.

To make a "flat" bottom to your bag, pinch the corners like you see below (I love tutorials for this reason, I have no idea how to explain how to do this without a picture) and sew straight across, like you see in the follow picture.


Yay, no further explanation required, the picture says it all, right? Do this to the corners of your outside bag as well as your lining. Some people like to measure, I eyeball, but do try and make all 4 corners the same, your bag will look much nicer.
As you can see in the next couple pictures, I cut off that extra fabric triangle and throw it away.

Your bag bottom should look like this...

Now I hope this next picture helps you. You are going to slip your outside bag into the lining, so that RIGHT SIDES are TOGETHER. Make sure that the seams all match up with eachother, and set that aside while you make your handles.

To make my handles, I like to do it much the same as you make a binding (not a quilt binding, a clothing binding, I guess). I took a strip of fabric that was 3 X 44in (width of fabric) and ironed that in half.

Then opened that up and ironed the sides into the middle...

Then folded it in half one more time (on my original folded line) and top stiched all the way down both sides. Then I cut that in half, to get 2 handles. I added one of my super cute lables from Sweetwaters Label Club (see
THIS POST for more information on that) so everyone knows its mine!


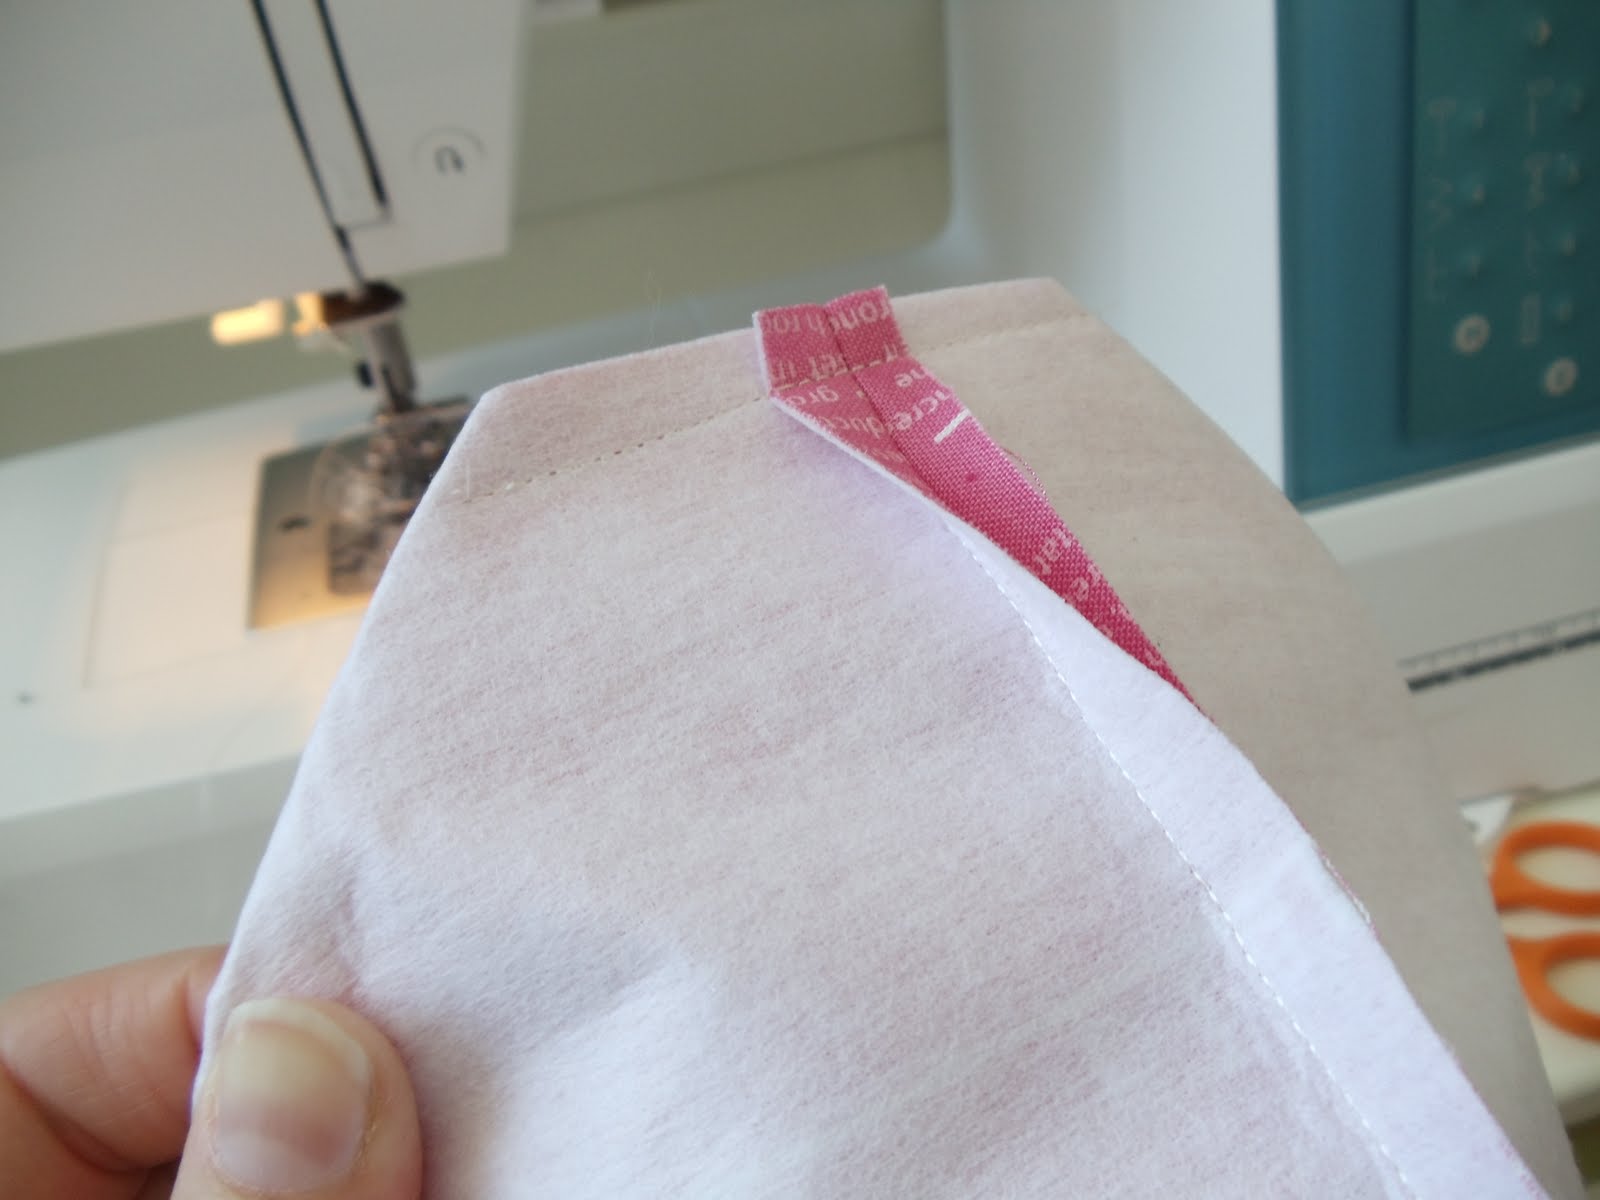
Grab your bag that you have set aside and slip your handles inside so they are in between the outside of your bag and the bag lining. Line up the 2 edges of each handle with the top edges of your bag...

Now sew all along the top of your bag, catching your handles as you do so.

Here's where I always get out my trusty seam ripper and make my hole to turn my bag right side out, because it never fails, I ALWAYS forget to leave that hole. Hopefully you won't, but if you do...

Now turn the whole thing right side out through that little hole and you should have something that looks like my picture below. Hand stitch the hole closed. Stuff your lining into your bag...

and top stitch along the top of your bag to hold the lining in place.

And there you have it! A super cute, one of a kind tote bag. Make one for every occasion; library, chruch, work, picnics, craft supplies, date nights...