Monday, April 30, 2012

Not at home


I'm not at home on my blog today, I'm a guest over at Pine Needles! Head on over and check out my tutorial for this great sewing machine cover!
I'll be back soon :)

Friday, April 27, 2012

Mother's Day Printable


Here's a little Mother's Day printable for you to share with those important women in your life. Folded like a matchbook it's a perfect size to slip in a favorite tea bag.


Every evening after we tuck the kids into bed my husband and I have a cup of herbal tea. Bruce likes to experiment and try new flavors. I stick with just one, my favorite, Bigelow Sweet Dreams. It's the cheapest brand at the grocery store and I probably never would have tried it if I hadn't borrowed some from my mom when we ran out. It's very yummy and helps me to calm down and get ready for bed.


So when thinking of what to make for Mother's Day I could think of nothing better to give the mothers I know than relaxation and a good nights sleep. That's really all that is on my wish list at the moment.
You can also download from Box.com HERE

Thursday, April 26, 2012

Family Pictures

We recently took the kids out for some updated family pictures. Don't I have 3 adorable kids!? :)Spring has sprung and as I write this it is a gorgeous 80 degrees outside. Loving it!


Tuesday, April 24, 2012

Little LDS Scripture Tote Tutorial


For my daughters baptism we gave her a gift of her very own set of scriptures. The scriptures on their own are nice but not super exciting, but she loved the little bag I made to carry them in. She looks forward to bringing her scriptures with her to Church with her every Sunday.


The bag is super simple to make. The hardest part was getting the measurements just right to fit the scriptures, but I did that part for you! Of course you can use this cute and simple tote bag to carry anything, not just scriptures, but I designed it to fit a standard set of LDS scriptures perfectly. I decided I wanted to quilt my bag to make it extra cute but mostly to add strength, because the scriptures are heavy.


For supplies you'll need to gather 2 fat quarters, a strip of accent fabric (I just used a scrap I had on hand. A 1/8th of a yard would be plenty) and another strip for your handles (a 1/8 of a yard by width of fabric will be more than enough). I also added a felt letter "P" to personalize it and a little crochet flower by Riley Blake Designs.


I put this bag together the same way I put THIS bag together, which is pretty much the same way I always make a bag. It's just so simple to me this way.

Cut your pieces (2 if each!)...

Bottom outside (tree fabric)- 6 inch X 12 inch
Bottom lining (pink dot)- 6 inch X 12 inch

Accent strip (blue)- 1.5 inch X 12 inch (4 pieces total)

Top outside (pick dot)- 3 inch X 12 inch
Top lining (tree)- 3 inch X 12 inch

In the picture below, one set will be the outside of the bag and one will be the inside/lining of your bag. You can't see it in the picture but my fabric is actually doubled, so there is a second piece underneath each of these pieces.


At this point set those pieces aside and make your handles, because you're going to sew those into the sides of the bag. To make the handles cut a piece of fabric 4 inches and iron your piece as shown below, bringing your sides into the middle and then folding the whole thing in half again.


Top stitch along each side of your handle...


And then you can just cut it right in the middle to create two handles. Doing it this way made my handles a bit long so I ended up taking about 2 inches off of each handle.


Once you have two handles you'll insert them between your top and middle pieces like you see below....


Pin your handles in place...

and sew along that edge, catching your handles in your seam...


Do this to both side of your bag. At this point you can quilt your bag if you wish. You don't have to but I think it makes it look extra sweet and different than other little scripture bags out there. For tips on how to quilt it yourself refer to THIS POST on my blog. As you can see I drew some lines with an erasable pen (Frixion Pen by Pilot, my favorite! Erases with the heat of your iron.) to follow while I quilted. I also stitched on the little felt "P" at this point.


After you've quilted your bag, sew your 2 pieces right sides together along the sides and the bottom. Turn your bag right side out and place your scriptures inside. Notice the extra little triangle pieces there on the bottom sides of the bag? Mark those because we are going to first sew and then cut those off to create a "square" bottom of your bag.


I feel like I should have another picture here to show you but as you can see I turned my bag wrong side out, slipped my scriptures inside, marked where they ended on each side, and sewed straight across. This will create a square bottom to your bag.


Trim off those triangles from each side...


And repeat the process again to make a lining, leaving off the handles. DON'T FORGET to leave a small hole (about 3 inches) in the bottom of your lining while you are sewing it together to be able to turn your bag right side out. You'll also square off the bottom of your lining pieces so they fit nicely inside your bag. Once you have the outside and the lining of your bag sewn together, slip the outside of the bag inside the lining as shown below...


Line up your seams on the sides and bottom and pin all around the top.


Sew your outside and lining pieces together around the top of your bag.


Turn your bag right side out through the whole you left in the lining. If you forgot to make this hole, like I always do, your can use your trusty seam ripper to pick out some stitches and make one. Once your bag is turned right side out, sew up your hole and press all your seams. Top stitch along the top edge of the bag to hold your lining in place.


And your done!

Wednesday, April 18, 2012

Hand Embroidery Tips


The first thing I embroidered was about 11 years ago when I was pregnant with my first baby. I bought a couple oneies and a few different colors of floss and stitched some little motifs to decorate the oneies with. I didn't have anyone to show me how, I had just seen finished products and figured it out from that. I didn't use a stabilizer or even a hoop to help me. They turned out cute though and we were such poor college students that really it was all I could afford to do for my little ones wardrobe.
Since then I've stitched so many embroidery projects I really have no idea where they all are or how many I've even done. It's a lot.
I've learned a couple things in the past 11 years about embroidery, but it's such a simple craft that you can grab a few onesies, floss and a needle to make something very sweet and memorable. There are a few things I would suggest you use though...


1. Erasable pens. My first projects were drawn with pencil. Soon after I started using water soluble markers that disappear when you get them wet. They are fine and work well, but I LOVE the Frixion Pens! They erase with heat, like the heat of your iron, not water, so you don't have to get your project wet.


2. Hoops. My favorite hoop to use is the Susan Bates Hoop-la Hoops. They are durable and have a little lip that helps to keep you fabric nice and tight while you are working.


3. Floss Storage. I use mostly DMC floss. But I have used Weeks Dye Works, Gentle Art, Valdani, and Cosmo floss. I still like DMC best. I can't help but love the price, as well as the huge color selection. As you collect floss you have to keep it organized or it will get EVERYWHERE. It unravels and tangles and makes a huge mess. My favorite way to organize my floss is in a handy little clear tackle box I bought in the sporting goods section. I take a stack of my husbands business cards, cut them in half, right the name (number) of the floss on the card and wrap it around that. You can buy special cards for wrapping you floss around. They are cheap and keep your floss very neat. But I prefer free and old business cards work for me.


4. My last tip for you is to stitch through 2 layers of fabric instead of one. Or a lot of people like to stitch through a layer of fabric with quilt batting behind it. The batting gives it a cute puckered quilted look. If I'm not going for that look I'll just double up my piece of fabric and stitch through that. By doing this it not only hides all your nasty knots and tangles on the back (which are pretty inevitable) so you are unable to see those through your fabric (with just one layer you can often see a dark thread show through to the front) but it looks much nicer, cleaner and more professional. I highly recommend it.


Just a couple other reminders would be...
-Apply a stabilizer to the back of knit fabrics before you embroider.
-Smaller lengths of floss will make for less knots in your floss. Even though you'll have to re thread your needle more often it's less of a pain than picking out a knot every other stitch.
-Get a tiny, sharp pair of scissor to keep in you storage box. You'll have everything you need right there with you always.
-I wish I would have put a lock on my floss box the day my babies decided to get into my newly purchased, newly organized for that special project floss and string it through the house. Just a thought if your kids are still little :)

Monday, April 16, 2012

How to "frame" your embroidery in a hoop

Here is the method that I used to give my embroidery I nice finished look in the hoop. After you are finished stitching your piece you'll want to trim off the excess fabric, leaving about an inch or two all the way around. Next gather your fabric on the back side of your hoop using a running stitch, like you see below...

Make sure you pull it nice and secure and tie off your thread. To cover the back I just pulled out some cute pieces of scrapbook paper I had on hand and hot glued it to the back of my hoop.

Thursday, April 12, 2012

TaDa!


I opened up a little pattern shop! I've had this idea rolling around in my head for ages. I'm so excited I finally did it! I think what finally sparked me to actually get my ideas down in pattern form was this fun trend of "Hoop Art". I love it! A fresh new way to frame your embroidery. Super cute and super simple (and super affordable!). I'll be posting some tips on where to find hoops, how to "frame" your embroidery in a hoop, and some tricks I've learned along the way for successful embroidery.


I've just completed 3 patterns so far, but my head is buzzing with ideas now that I've got these done. First up is called "Life Is..." Life is like riding a bicycle, in order to keep your balance you must keep moving. I can't decide what I love more, the bicycle or the mini "hexies" (which are not actually "sewn", by the way! I wanted to make sure everyone of every skill level could do this fun and easy project, so my mini hexies are just fusible applique with a sweet little running stitch all around).


The next one is probably my favorite because of that fun granny square block (also fusible applique! Talk about quick and easy.) I remember seeing "fire" balloons when I was a tiny little girl out our car window on a long drive one day in my childhood home of sunny southern California. My mom still has the little scraps of paper with my first drawings of hot air balloons on them. I think I'll make one of these as a gift for her (shhh, don't tell)!


And lastly, this little sewing machine. I've doodled this sewing machine so many times! I actually have a pin cushion with this same sewing machine embroidered onto it I made years ago. Gotta love that cute trendy bunting, and I fell in love with this saying when I first found it "Creativity is allowing oneself to make mistakes, Art is knowing which ones to keep"


So why "Jumping Through Hoops". Well, despite the obvious play on the word "Hoops", embroidery hoops, hoop art... quite often here at home I feel like it is a real "trick" to pull it all together, like I'm jumping through hoops to make it all happen. I'm so busy being a mommy and wife (and all that goes along with that) that it is difficult to find the time to be creative. And I NEED my creative outlet! I know we all feel like that sometimes, jumping through hoops to try and get it all done, whether we are a full time mom, juggling a career and family, married, single, Aunt, Sister, Grandma, or all of the above :) we are amazing! We are doing an awesome job! And we deserve to take a little time to stitch.


Click HERE to check out my new shop where you can buy these patterns in either PDF printable form or have the shipped to your door!

Wednesday, April 11, 2012

Just a peek...


I've been working on something new! Something new and adventurous and a little bit scary. I hope to show you more very soon :)

Tuesday, April 10, 2012

A Very Special Day

We recently celebrated a very special day for my 8 year old daughter "P". She was baptized into the Church of Jesus Christ of Latter Day Saints.

8 years old is such a sweet age. I am enjoying my daughter at this age more than I ever have. P is still a innocent child and yet I see her starting to grow up. She very much wants to be my friend, she wants to "grow up to be just like mommy", but she is also developing ideas of her own, which is so fun to watch. She loves animals more than people, wants to be a veterinarian/artist when she grows up, and I have seriously started researching "meatless" meal ideas for that day when she finally tells me she won't eat my hamburgers anymore. She is a prefect student and really enjoys school. She can be a bit shy but has lots of little BFF's and loves to make people laugh. Her favorite time is family time and I'm hoping I can make that last for many more years. And lastly, I also see her testimony of Christ starting to form. She is very curious and wants to always do what is right. She is such a joy in my life!


Our forever family...
Little P and her daddy...

I made a few simple decorations for a luncheon at our house after the baptism. Lots of P's family and friends were there to celebrate with her.
Feel free to copy these and use them for your special 8 year old...


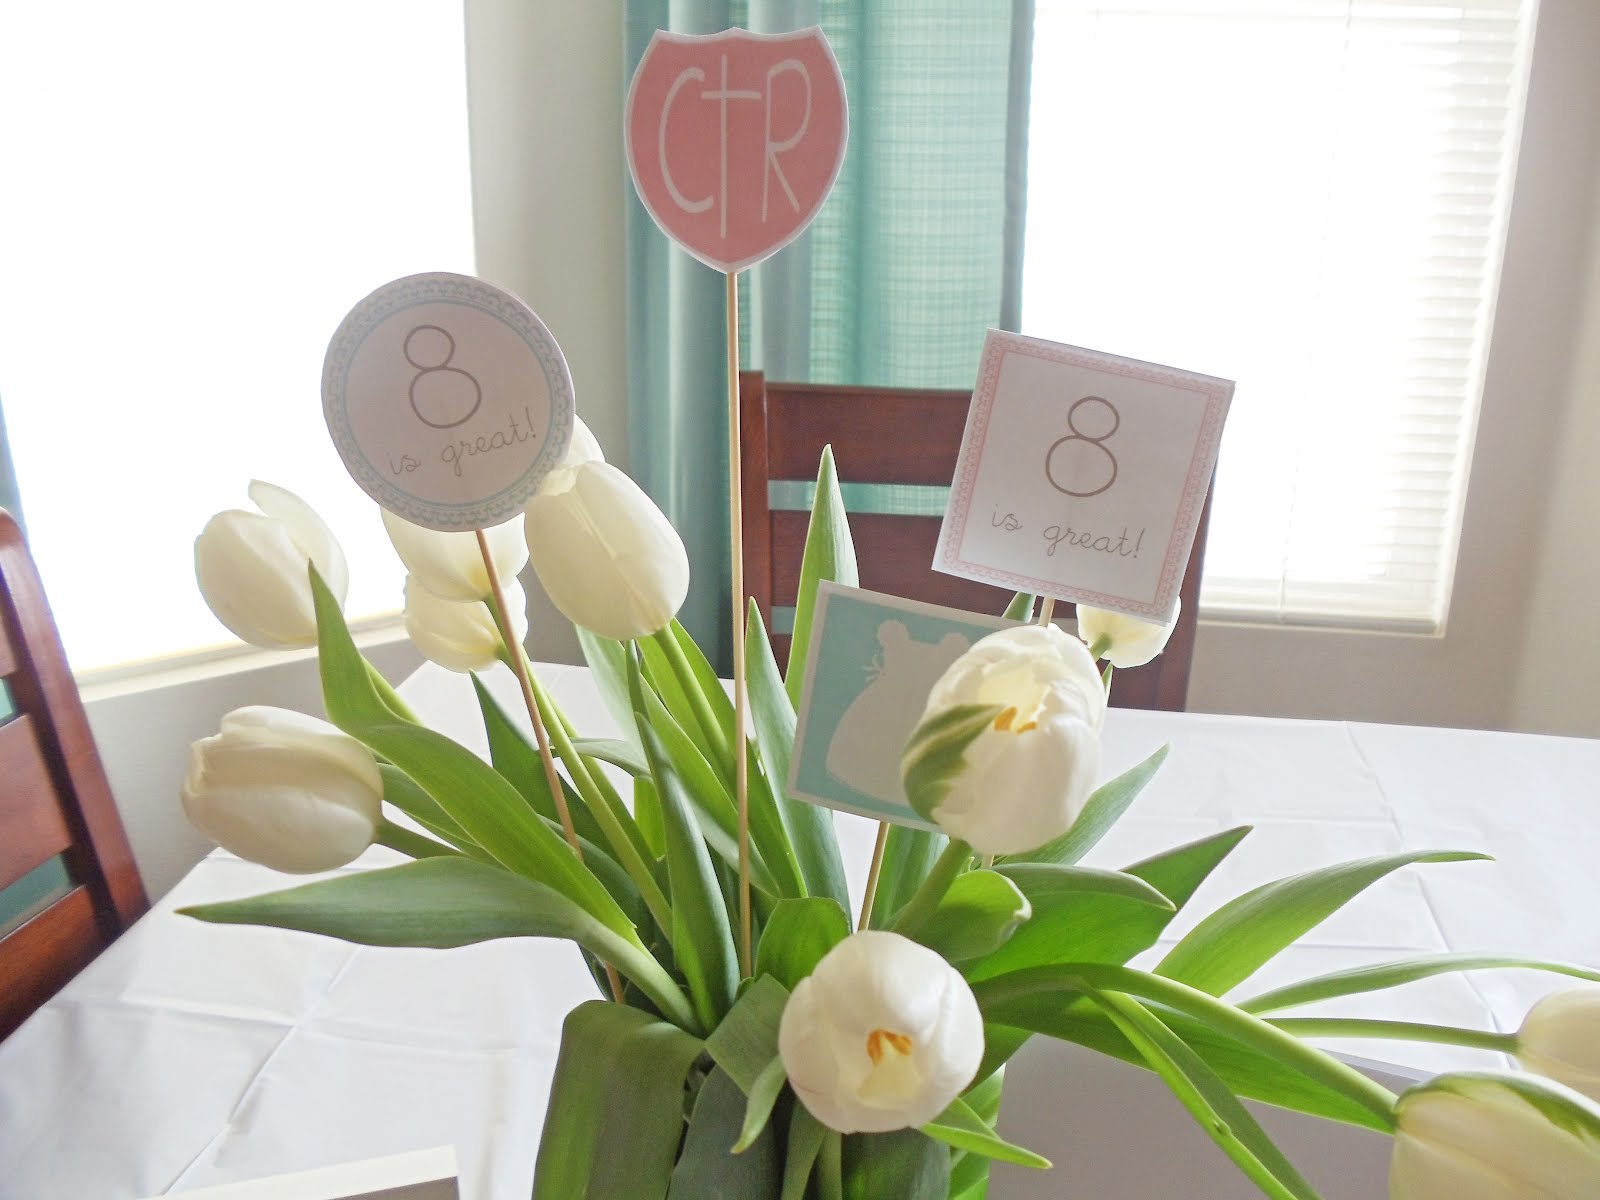
I also purchased some inexpensive paper doilies from my local party store to decorate the table with.
For my hanging decorations I just sewed down the middle of a stack of 6 doilies and then spread them out to create a "ball"...

As a special gift for P we got her her own set of LDS scriptures and I made her this little quilted scripture case to go with it. I am hoping to get a tutorial together for it soon!