Monday, August 30, 2010

Button Bracelets

Just a real quick idea and then I'm off to take P to her little cheer leading class. I've seen button bracelets before and lengthy tutorials on how to make them (not to mention costly ones for sale), but I just grabbed some stretchy cord and strung a variety of different sized buttons on it for a really quick and cute project. Best part... if I want to reuse my buttons later on, I can easily snip the cord and have my precious buttons back.

I Bought my stretchy cord at Walmart for a couple bucks. Every time I wear a button bracelet I get so many compliments and everyone wants to know how I made it. I think it would make a great children's craft too. I bet a bunch of 6 year old wanna be cheerleaders would love it!

Friday, August 20, 2010

Tomato Pincushion Tutorial

I love the traditional tomato pincushions. They have always been around as long as I can remember. I have collected a couple and they are the pincushions I use the most, perfectly practical and cute. When I saw this fabric I thought what a cute tomato pincushion it would make! The little pattern I made up (you can link to it HERE!) is so versatile you can make all sorts of veggies and fruits. I'm thinking pumpkin and oranges next.


I used a fat eighth for the tomato and a scrap of green for the leaves. Print out the pattern and cut six wedges out of your red fabric. Sew this wedges together, like in the pictures below...


When you have sewn on your last wedge, sew the side of the first wedge to the last, to form a sort of ball. Leave a small opening along one side to turn.

My favorite filler for pincushions is this walnut shell bird litter (the stuff you put on the bottom of bird cages). I bought this bag at a pet store for around 10$ and have made MANY pincushions out of it. The crushed walnut shells help keep your needles sharp and feels nice and heavy in your pincushions.

After I stuffed my little tomato, I sewed my opening closed. I stuffed it just enough so I could still flatten it to make a tomato shape. If you stuff it more you could create a rounder ball shape (which would be great for an orange!).

Use a long needle with a couple strands of embroidery thread and sew right through the middle of the tomato and pull, so you end up with something like this...

Tie it off with a strong knot.

Now to make your tomato leaves. As you can see below I cut 2 squares of green and traced the leaf pattern onto the wrong side of one of my fabrics. I then sewed along my traced line and cut out my leaves 1/8 inch from my stitches. I cut a little slit (not pictured) on the inside corners, to make it turn well.

In order to turn my leaves right side out, I cut a hole on one side of my leaves. I didn't bother to sew it up afterward because it will be the side facing the tomato.

After I turned and pressed the leaves I bunched up the center and just hot glued it to the top of my tomato. You could sew it on, that would be perfectly fine, but this was a quick project for me and I find hot glue actually works really well on cotton fabric.


Here it is again, sitting all cute in my sewing room. The flower pins are just a couple of clay buttons glues to some flat head pins.


Enjoy your harvest!

Works in progress...


Family Pictures

Being such a "do it yourself-er", and yes an occasional penny pincher, I decided that we would do our family pictures ourselves this year. Turns out sometimes it's ok to hire a bit of help. I think I got about 3 decent shots, mostly of the kids, and not one good one of all of us together (out of the 80 something pictures we took). Perhaps if I knew more about computers, and could work photoshop, I could fix a few. As is, I think I will just take the ones of the kids and try to get a better shot of Bruce and I in a few months.


This one of the kids and their Grandparents (hi mom and dad!) is my favorite! Anyone know how I can insert Bruce and I into the background? (The boy's hair is a little crazy, but he refuses to let me cut it. Perhaps someday he will look back on family pictures and say "gee mom, you were right". I'm not going to hold my breath though)

Tuesday, August 17, 2010

Playing With Dolls

Shhh, don't tell, but P will be getting a very special present this year from the big guy with the beard (no, not my husband... Santa!). I bought her this Madama Alexander doll a few months ago (same size, shape and cuteness of an American Girl doll, but half the price) and have been making matching doll and girl clothes for her.
I'm just so excited about it I have to tell someone! Since I can't tell her, you get to hear all about it.

My favorite is this little skirt.

But I also really like these matching pillowcase dresses.

I have in the works matching pajama's and t shirts/jeans outfits. The sad thing is, P doesn't like dolls. I really think I am making this mostly for me, because it's been a lot of fun!

Thursday, August 12, 2010

Wishing flowers...

At the park today my youngest and I took a moment to
wish on some "wishing flowers" as she calls them.
Little C- "Mommy, you know what I wish for?"

Me- "No honey, what?"

Little C- "YOU!"

I wished for you too, sweet baby.

Wednesday, August 11, 2010

Another Quilt Finished!

Here is my newest finished quilt. I just finished the binding today and I am very happy with the way it turned out. I quilted it myself... my arms are still sore!
Thank you to my wonderful husband, he makes a great quilt hanger!

Thursday, August 5, 2010

I swear it shrunk in the wash...

This used to be my T-shirt. I wish I looked so good in it.

She was seriously bugged that I wouldn't get the camera out of her face.


Monday, August 2, 2010

Pelly Owls

My favorite way to create is to just grab some fabric from my stash and start to cut, no pattern, just purely out of my head. That is how this little pair of owls came to be. I fell in love with this fabric and knew I wanted to have some of it in my daughter's room. So, one Sunday afternoon I grabbed a few fat quarters and began to sew these little owls together. They are incredibly simple to make, just a ball shape with great big eyes and a beak. My daughters named them "Pelly Owls" and threw them around for awhile until I took them back and set them on the self (afraid that my less than perfect stitches would pop).


Surprisingly I did make up a pattern, mostly as an after thought though, so I don't have a complete tutorial with pictures and all that. But like I said, they are so simple to make you should be fine just following my instructions. You can download the pattern pieces HERE!


Supply List


1 fat quarter

contrasting fabric scraps for wings

white and black wool felt

stuffing


Cut out 3 body pieces. Decide which piece you want for your owls face. Cut 2 eye pieces, 1 beak, and 2 ears out of the wool felt. Using a blanket stitch, stitch on the eyes and the beak to the body piece you choose for the front. Cut 2 wing pieces out of the contrasting fabric. Top stitch the wings onto the front owl piece. I left the edges raw on the wings and even pulled a few threads to unravel them just a bit.


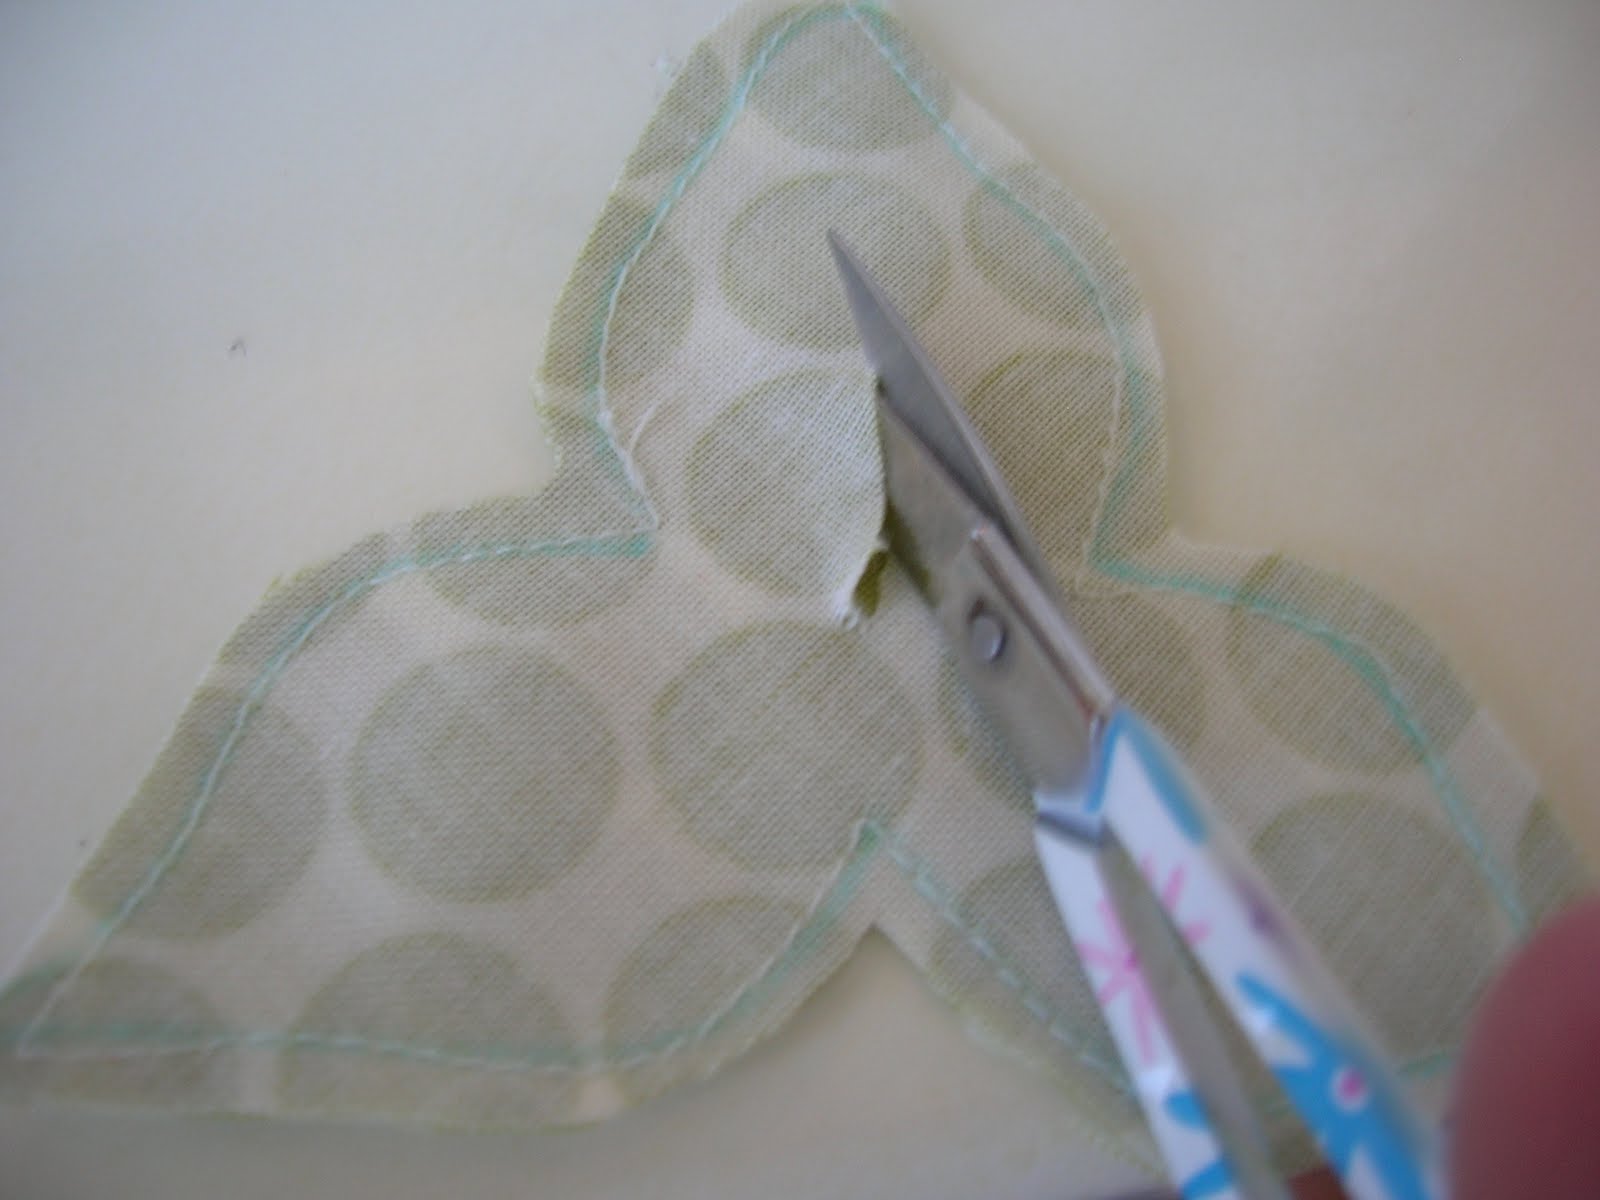
Assemble the body by taking two of the body pieces, placing them right sides together and sewing along one of the vertical seams. Repeat with the third body piece (your face piece) by sewing it to the other two pieces along the vertical seams. Leave two small openings in your sewing on the top of the owls head where you insert the owls ears. Pinch the bottom of the owls ears and insert them, pointed side down, into the small openings and stitch closed. With right sides facing and the edges aligned, pin the base piece to the bottom opening of the body. Make sure it fits well and trim the base piece if necessary. Sew the base piece to the body, leaving a small whole for turning. Turn the whole piece right side out. Stuff your owl and hand stitch the opening closed.

Sunday, August 1, 2010

So I changed the look of my blog, again. I think this one will stick though, it feels more my style. And it feels more relaxed, which I am happy to say, my life has become a lot more relaxed since my kids went off to school. I am surprised at just how peaceful and relaxed my days have become now that The Boy and P are at school most of the day. I knew I was looking forward to this day, but I forgot just how easy only have one child is. Our mornings are still hectic and come 3:30 our home becomes very loud and energetic, but for those hours in between when it is just me and little C, it's bliss! I do love our loud and crazy family though. I love that my children's friends feel welcome here and that we usually have a full house. And I absolutely adore my children and all that they are. But let me tell you what, it's a lot easier to say all this now that they are gone for a good chunk of the day! If you would have asked me 2 weeks ago how I felt about our home life, I don't know that I could have been so optimistic.


Since things have slowed down quite a bit I have made it a point to be extra patient when I do need to step it up and become super mom. I have that time durning the day to get some things done around the house and recharge my batteries, as well as spend quality time with my baby. I have also been working on a bunch of new projects and I hope to put up tutorials soon. Here is an idea that I am super excited to get started on...


You can follow the link above to this really fun blog and this incredibly cute idea! Me and C are off to Target to look for some bright beach towels and probably grab an ice cream cone. Maybe we'll stop by the big kids school for lunch and drop off a special treat for them too. Whew, I feel like I am on top of this mommy thing again!